MC Express work orders
MC Express provides a great deal of versatility and ease-of-use for managing the entire life cycle of Work Order on the go. The following instructions will guide you through the basics of navigating a Work Order in MC Express.
Note: This quick reference article assumes a basic knowledge of Work Order management in the Main Application (MRO). To acquaint yourself with these basics, please visit the Work Orders and Service Requester section of the Knowledge Base.
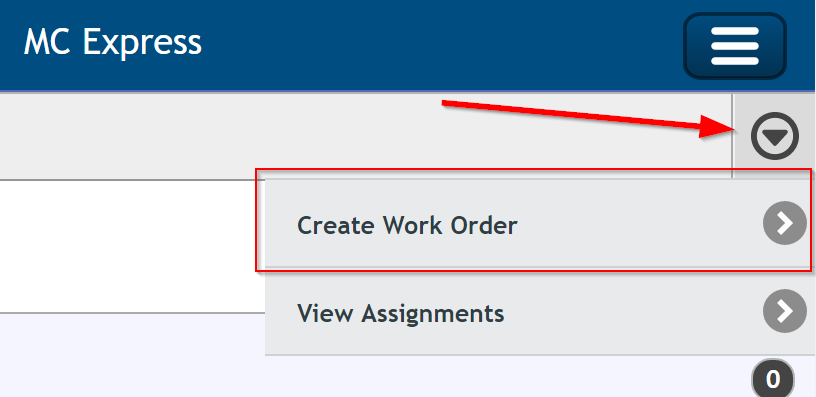
- Click the dropdown arrow in the upper right hand corner of MC Express, and select Create Work Order from the list of options:
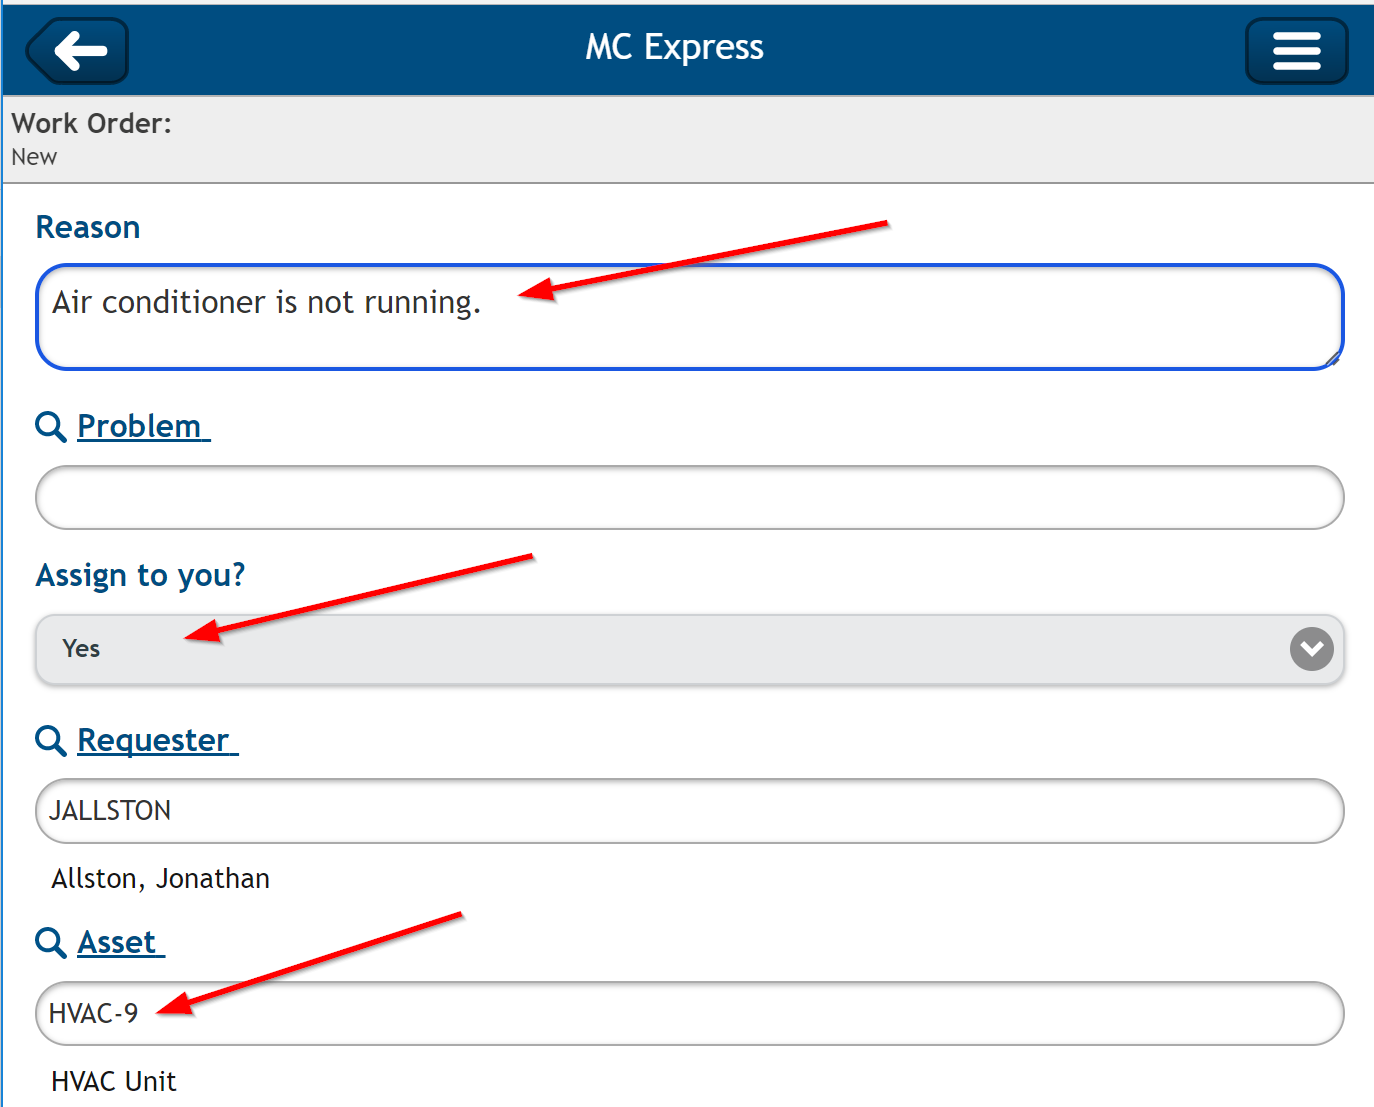
- In the window that appears, enter the necessary details about the Work Order. The following items are some of the more commonly used. Keep in mind that some fields may be required, but required fields will differ from one organization to another.
- Reason: Give a detailed description of the issue and the work that needs to be performed.
- Assign to You?: Use this field to assign the Work Order to yourself (if you have already completed the work yourself, or if you plan to complete the Work Order yourself).
- Asset: Select the Asset/Location for which the work is to be performed. You can start typing the Asset ID or Name into the field and then select the proper Asset from the list of options that appears. Or, click the Asset field label, and select the proper Asset in the window that appears:
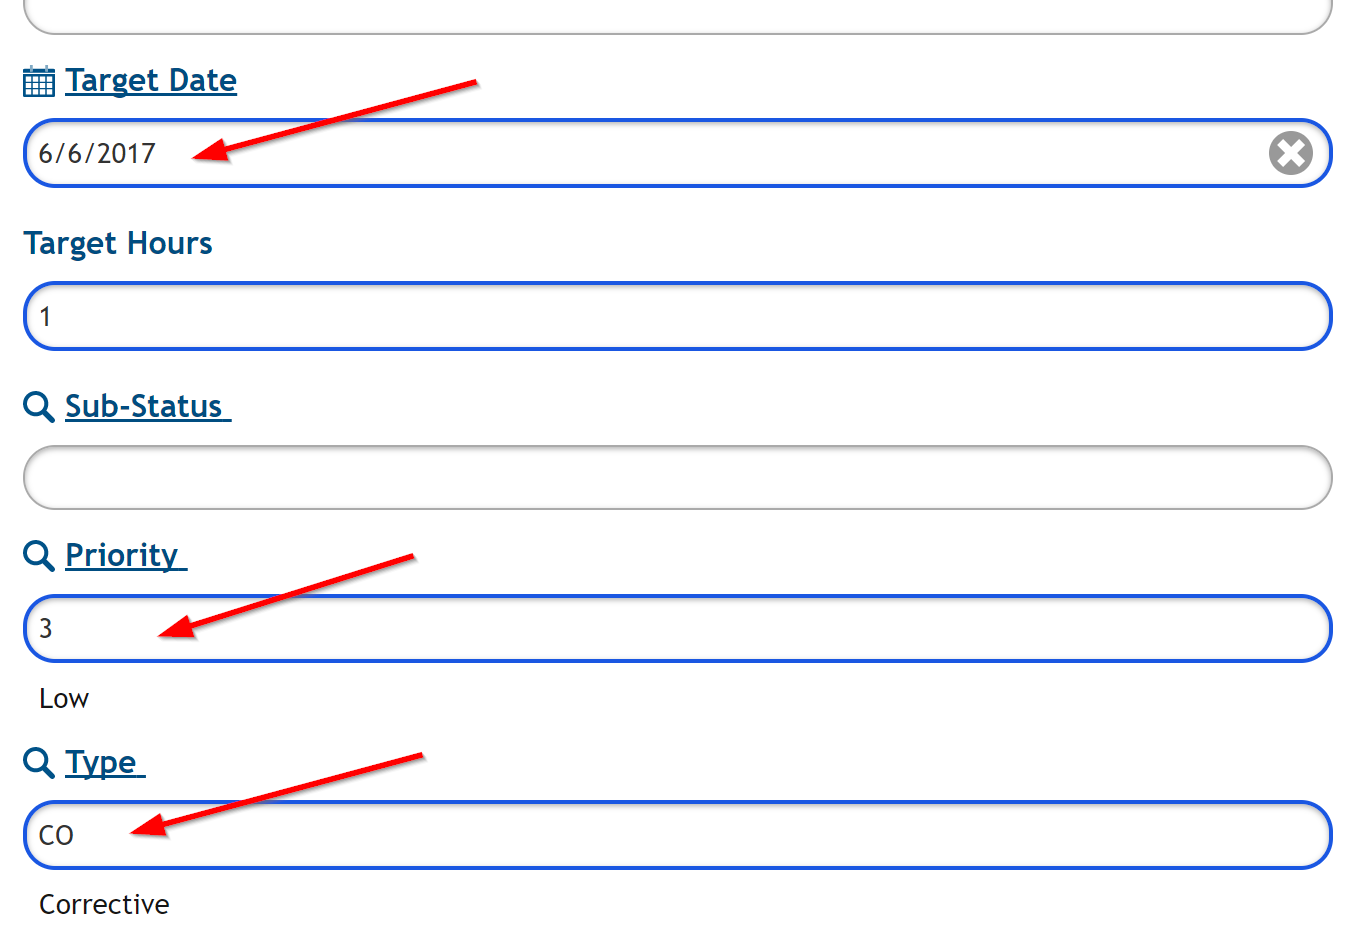
- Target Date: Select the date by which the work should be completed.
- Type: Select the Type for the Work Order.
- Priority: Select the Priority for the Work Order. This field should contain a default value that you can modify if necessary:
- Click Save at the bottom of the screen:

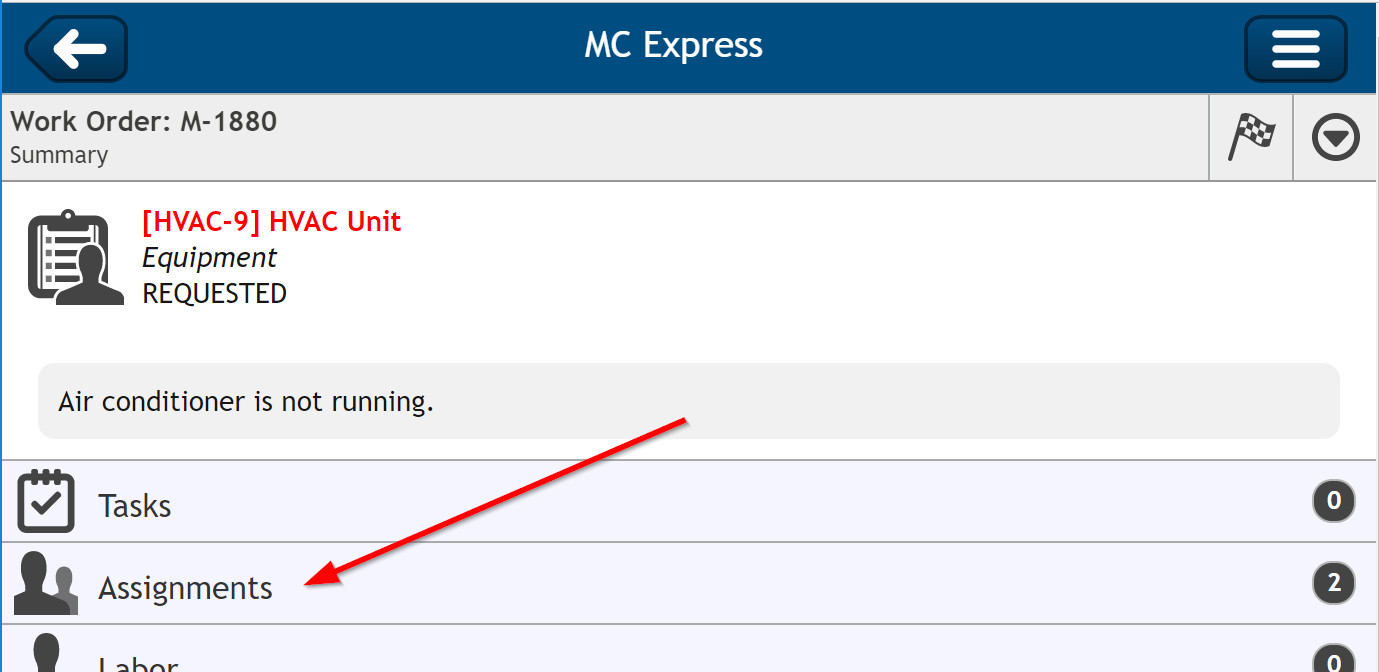
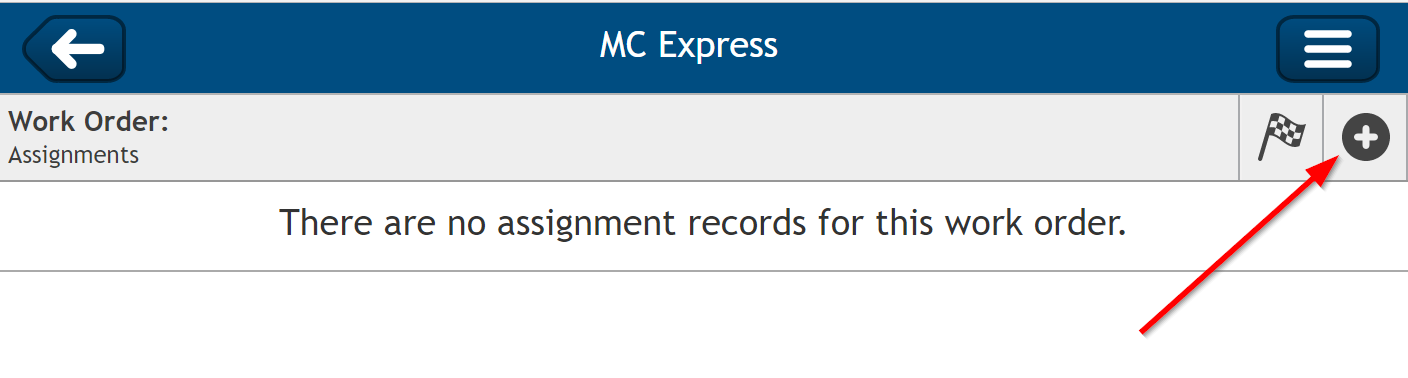
- Navigate to the Work Order record you wish to assign to a technician, and select the Assignments option:
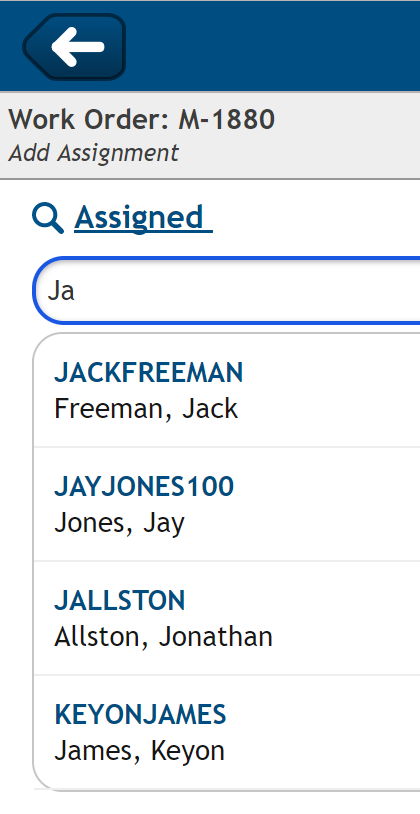
- In the Assigned field, you can start typing the Labor Name or ID, and then select the proper Labor record from the list that appears. Or, click the Assigned field label to open the Labor Lookup and add the proper Labor record from there:
- Indicate the date on which the work should be performed in Date field (on or before the Target Date), and indicate the number of assigned hours in the Hours field:

- Click Save at the bottom of the screen:

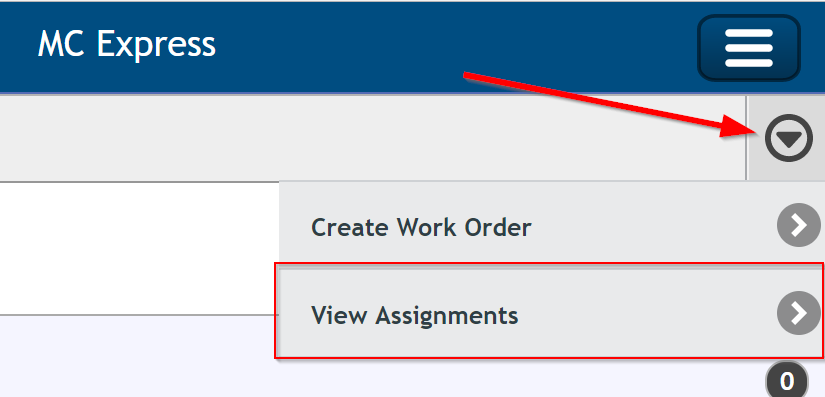
Technicians can accept or reject pending assignments in MC Express using the Pending Assignments View page, which can be accessed from the Work Order dropdown menu:

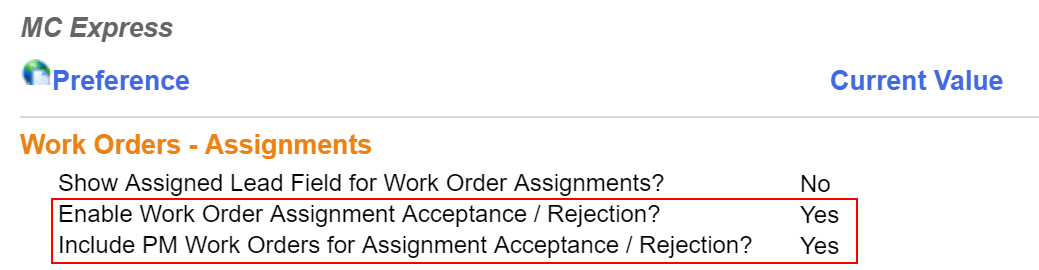
Note: The Pending Assignments View must be enabled in MC Express Preferences as shown in the screenshot below. Notice that you can also choose to include or exclude PM Work Order assignments from the Pending Assignments View:
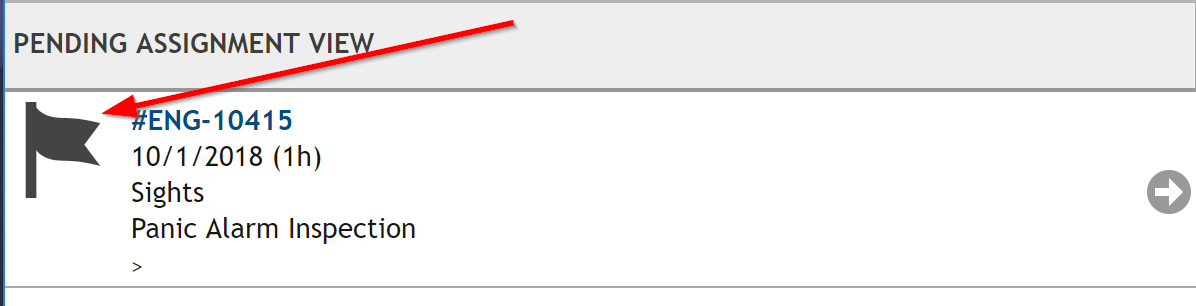
From the Pending Assignment View page technicians can choose to accept any of their pending assignments by selecting the flag icon:
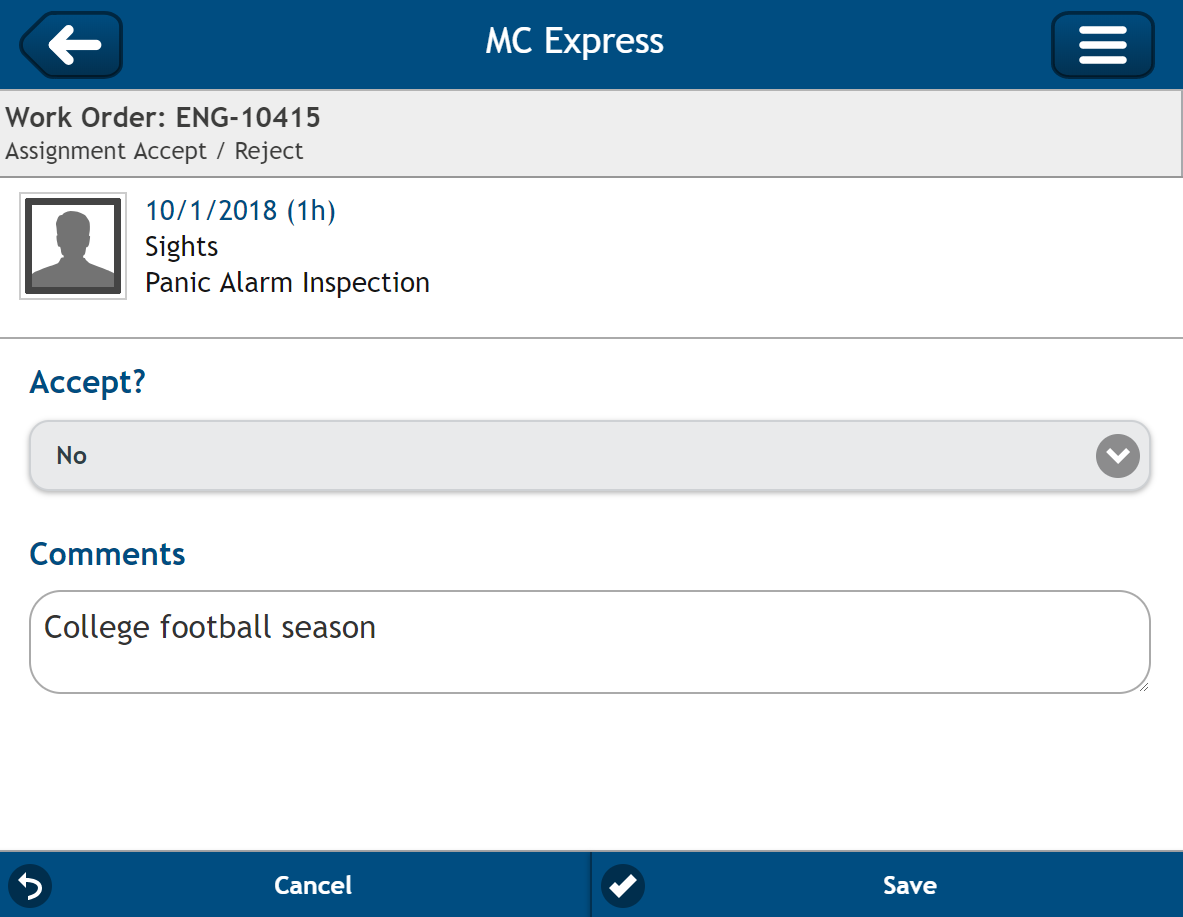
To reject an assignment, select the desired record. On the page that displays, make sure the Accept? dropdown is set to No, select provide a reason for rejecting an assignment in the Comments field, and then Save the record:
There are a couple of administrative tools available to ensure schedulers or dispatchers are made aware of a rejected assignments as soon as possible, and are thus able to re-assign rejected Work Order quickly and efficiently. For more information on these tools, check out the How to Assign a Work Order article.
- Use the View Assignments option to navigate to the Work Order you will be working on:
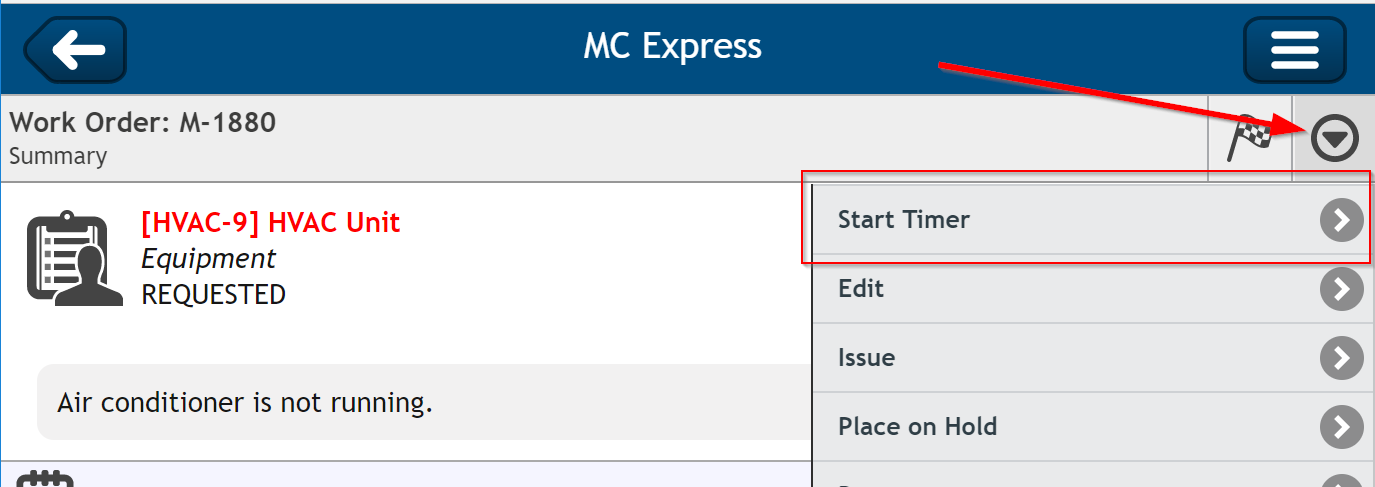
- Click the dropdown arrow in the upper right hand corner of the screen, and select the Start Timer option. Select Yes in the prompt that appears:
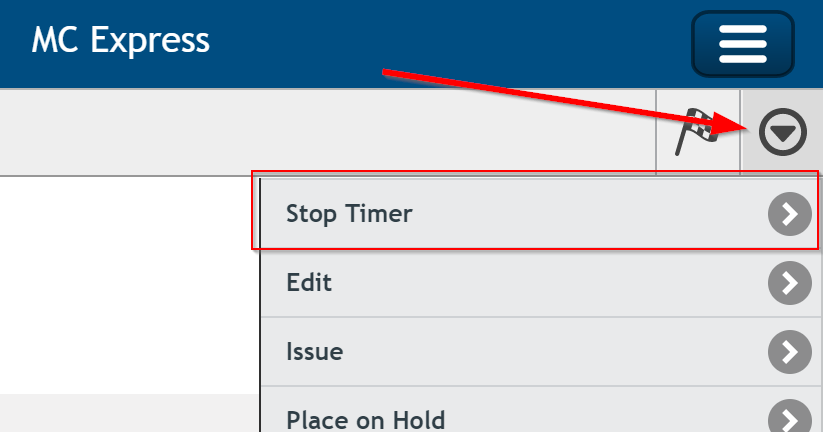
- When you select the dropdown arrow again, you will be given the option to Stop Timer. Selecting this option will stop the timer and record the amount of time you spent on the Work Order:
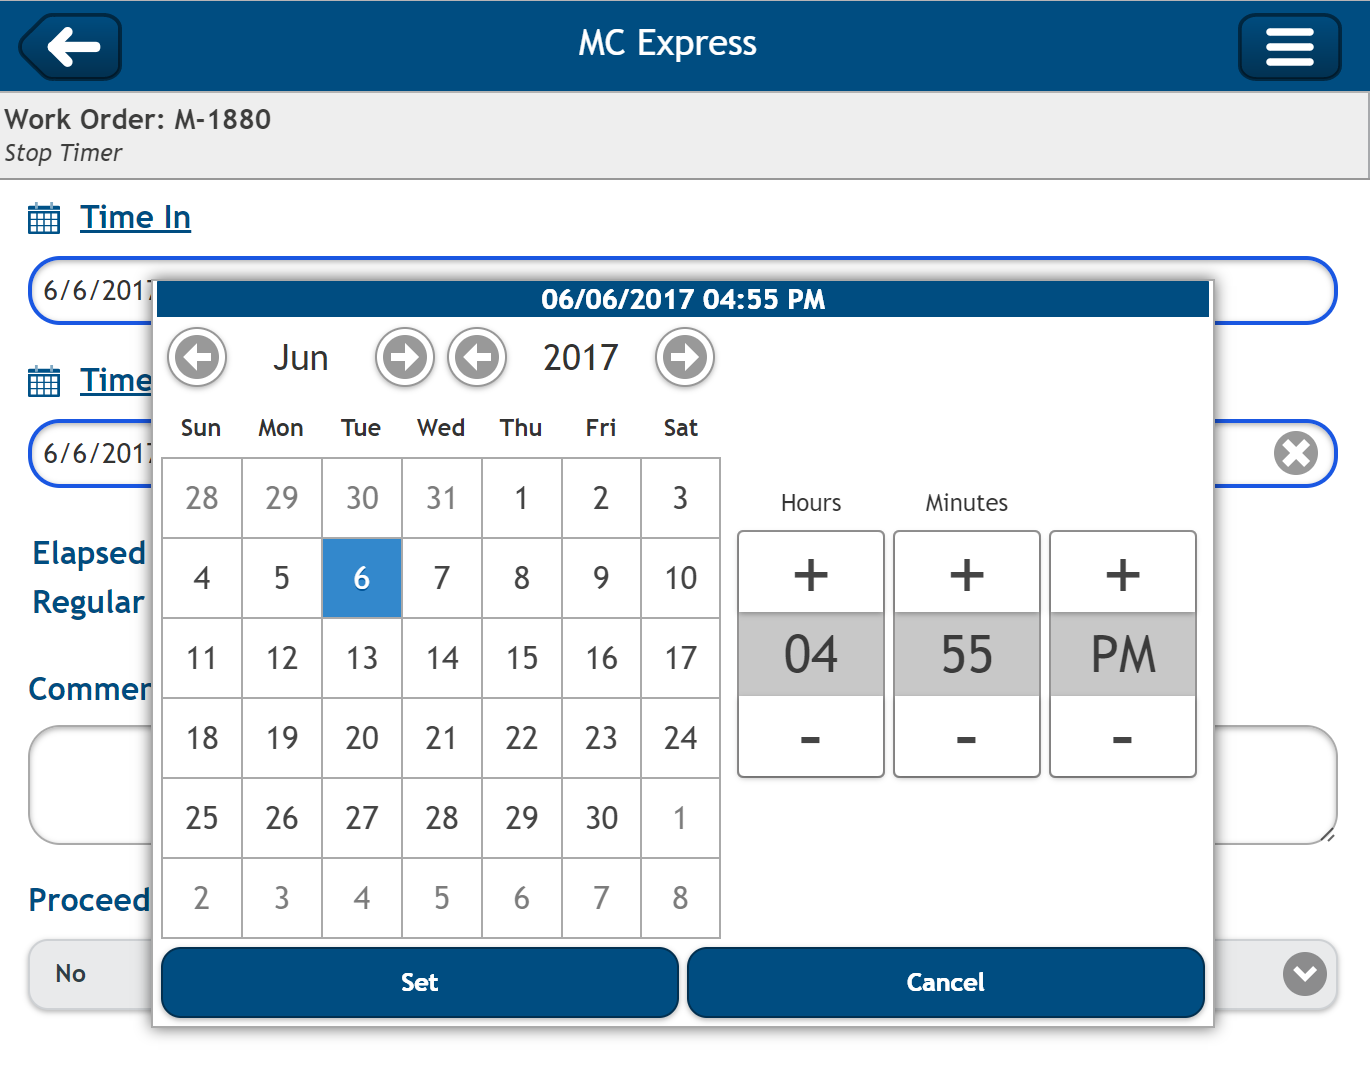
- In the window that appears, adjust the Time In and Time Out fields if needed and click the Set button:
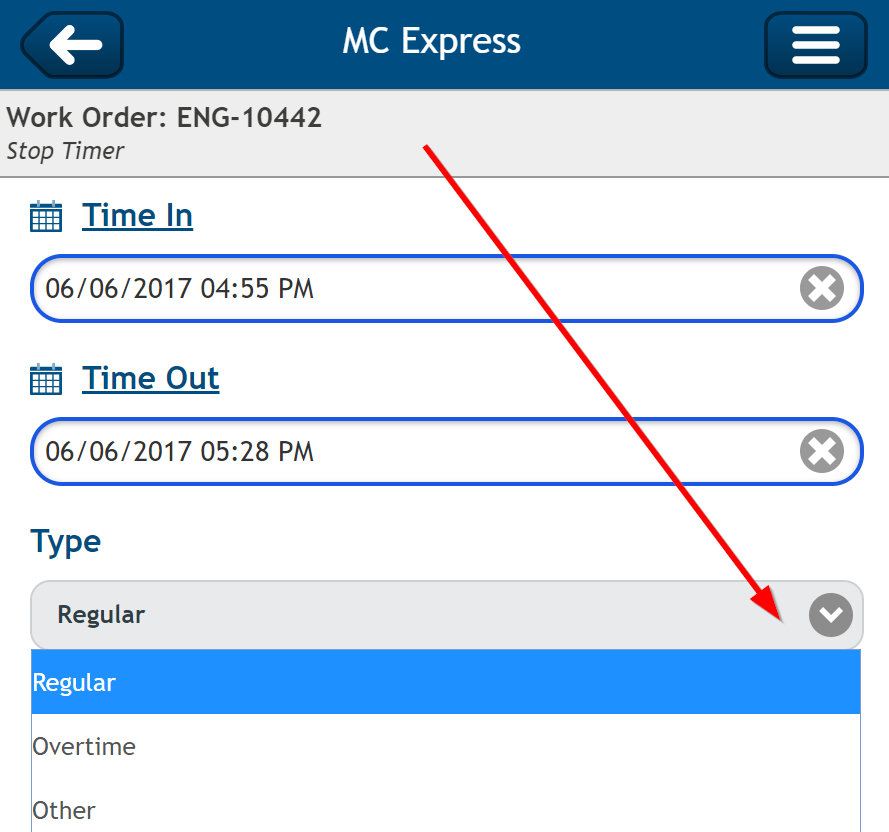
- After the Labor Hours are set, make sure you indicate the type of hours to be recorded for the labor time (Regular, Overtime, etc.):
- Click the Save button at the bottom of the screen.
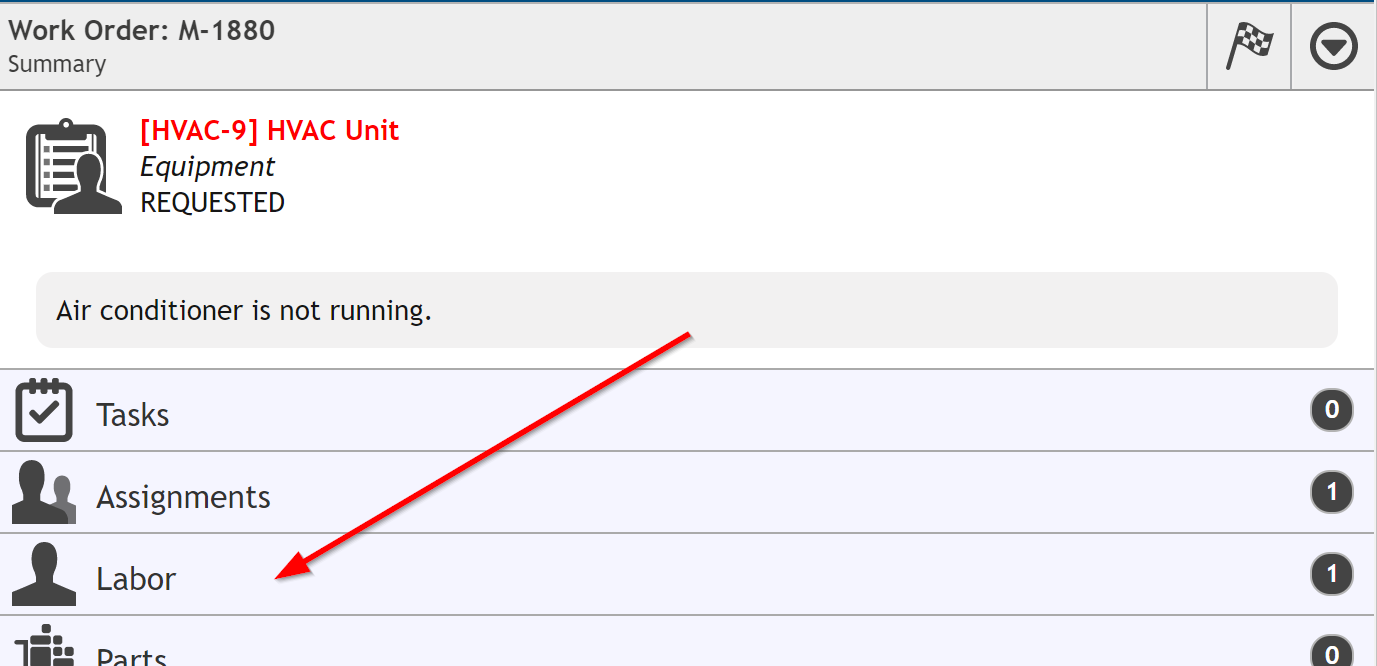
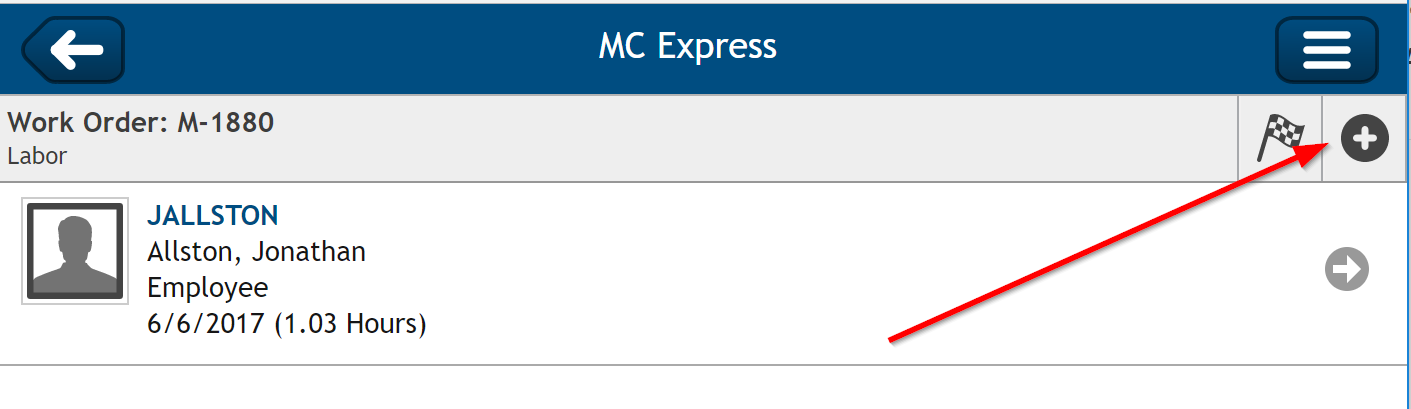
- You can also set your Labor Hours by accessing the proper Work Order record and selecting the Labor option. Then, select the the + button to input your Time In and Time Out for the Work Order:
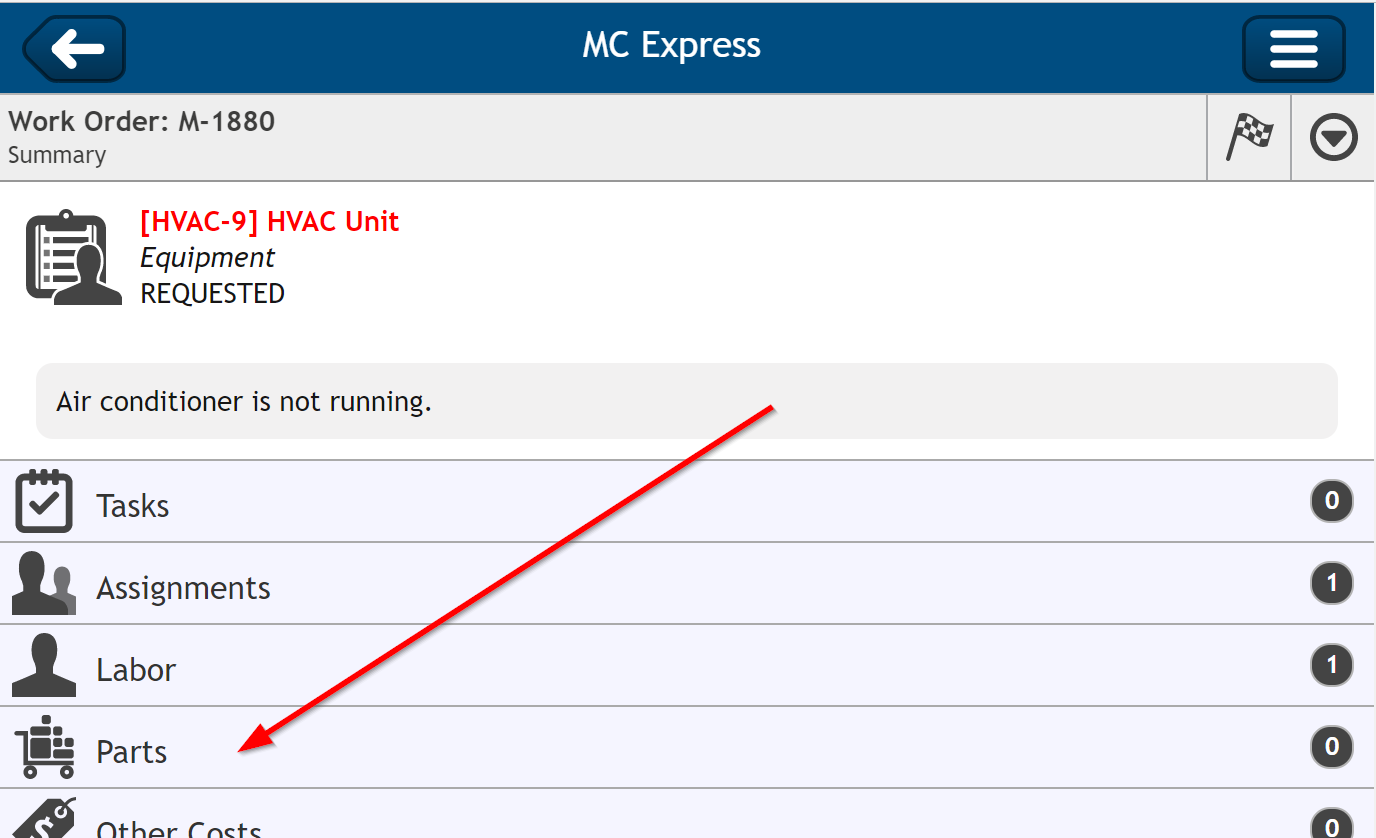
- Navigate to the Work Order record for which you need add an Inventory Item, and select the option for Parts:
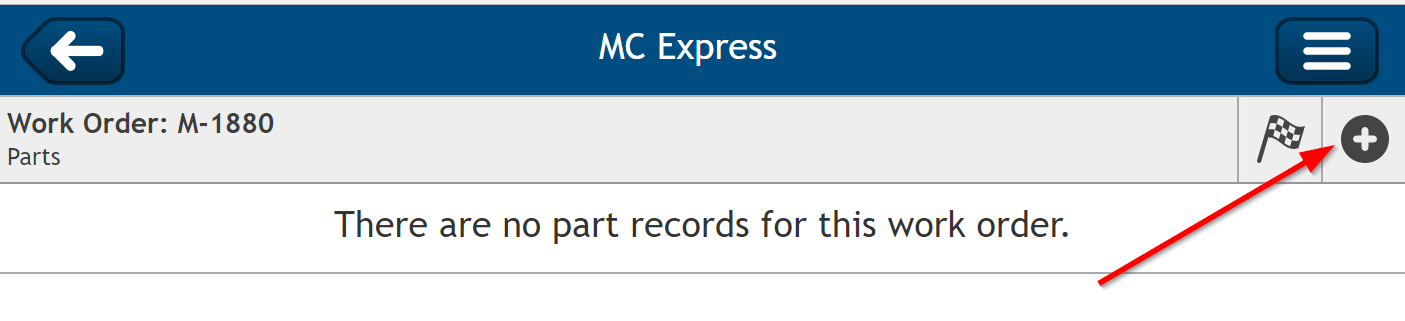
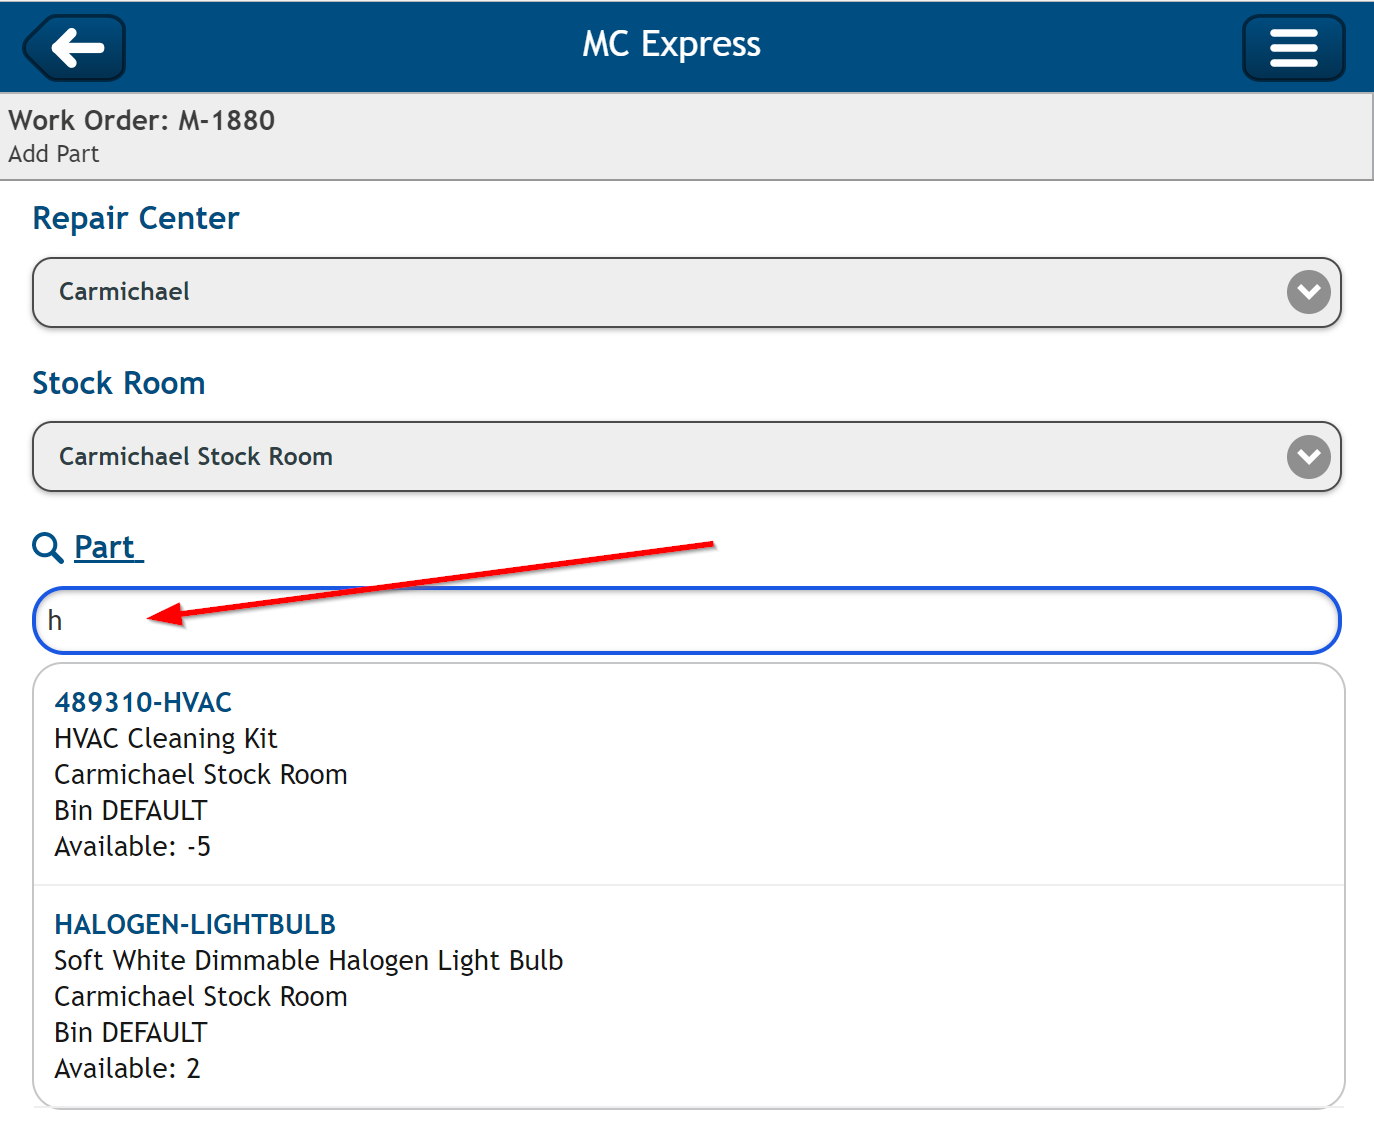
- In the window that appears, you can start typing in the Item ID or Name in the Part field, and then select the proper Part from the list that appears. Or, click the Part field label to open the Inventory Lookup and select the proper Part from there:
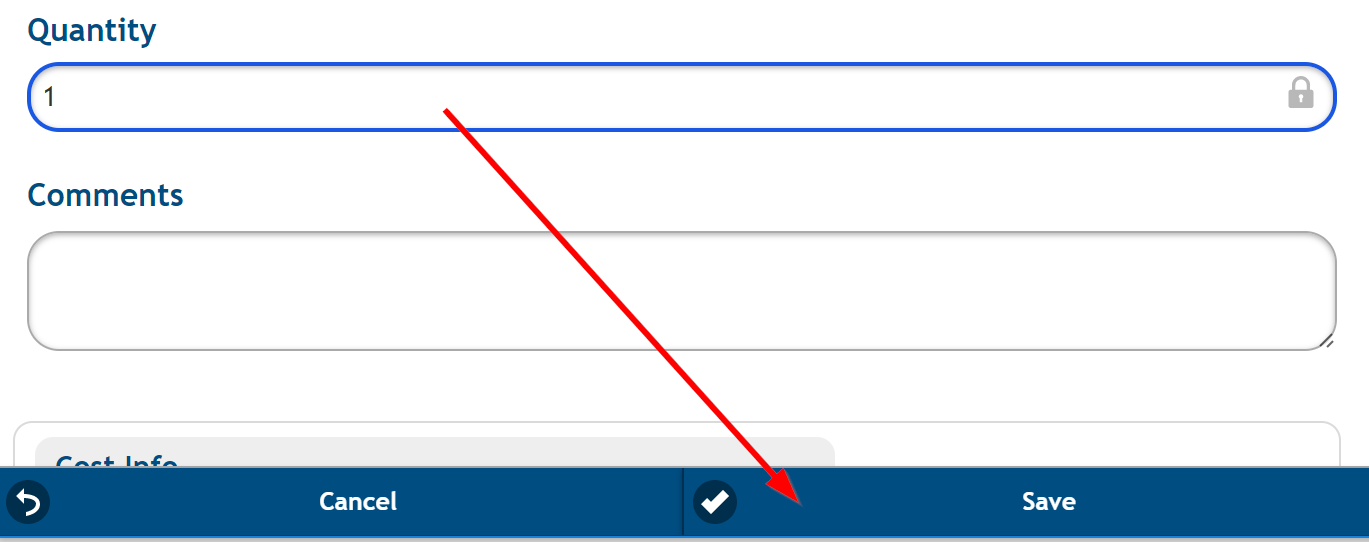
- Ensure the correct quantity displays in the Quantity field. This value will default to 1. When finished, click the Save button:
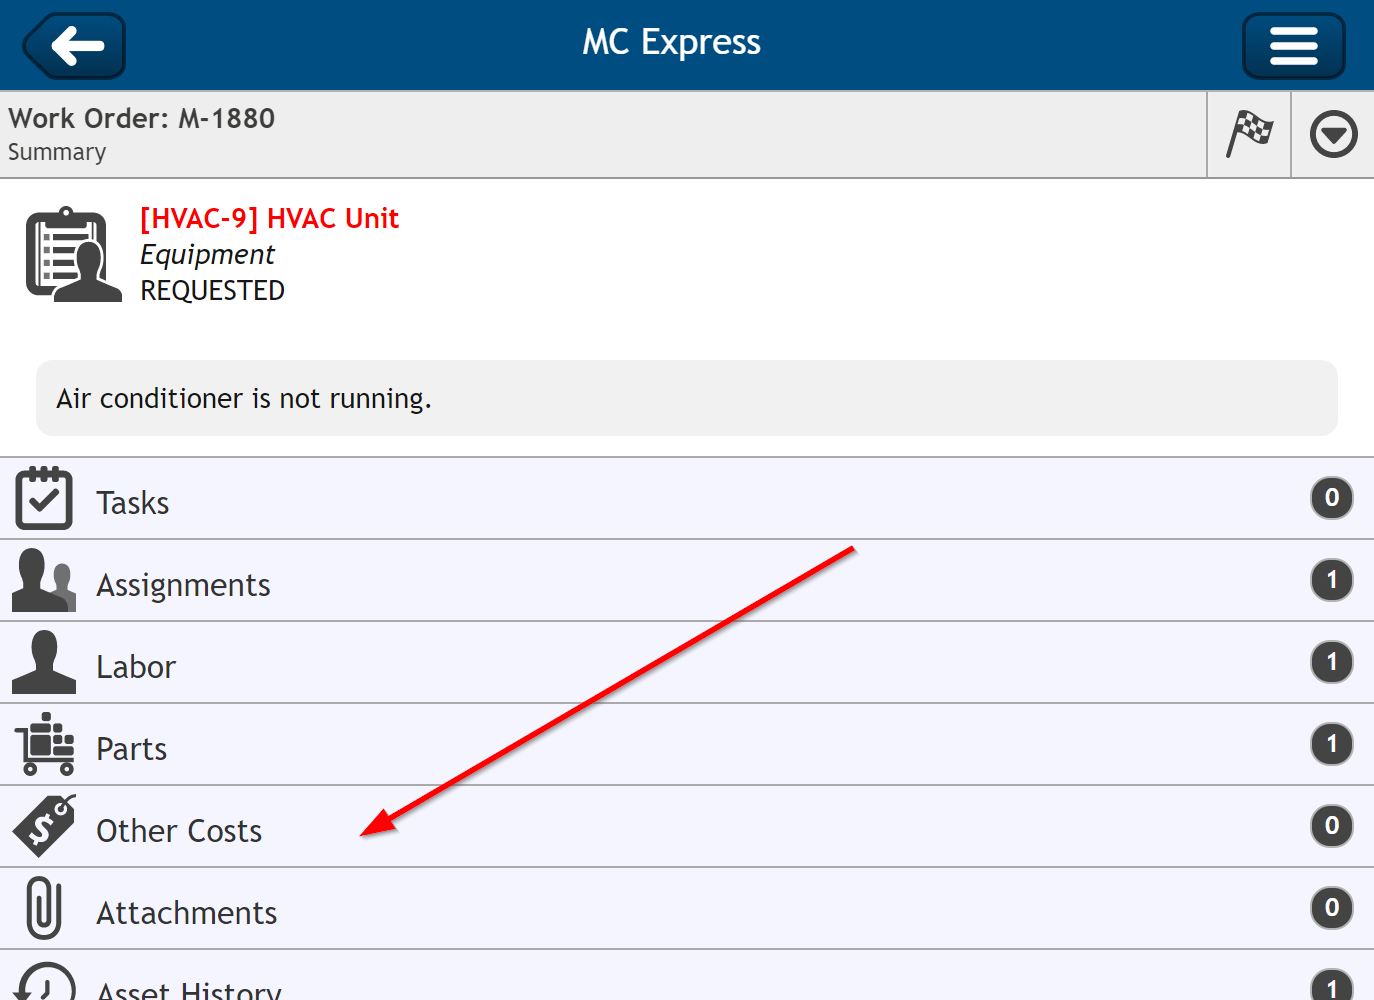
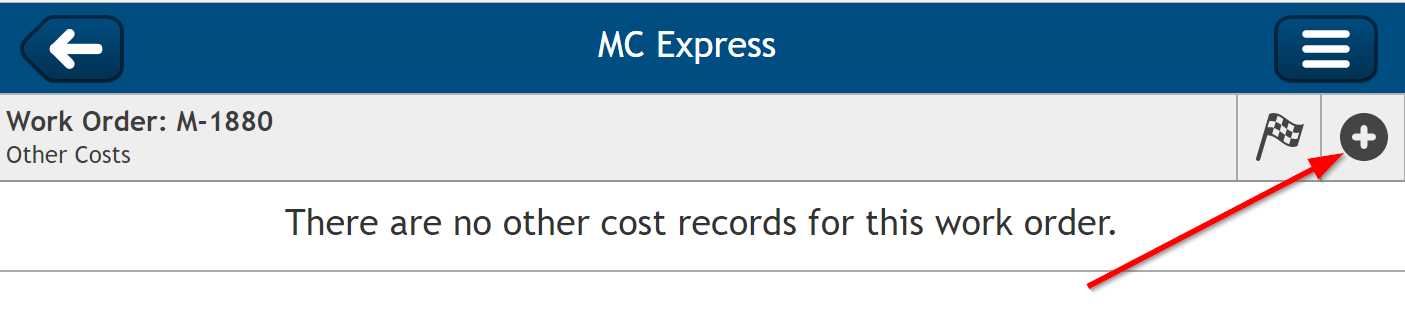
- Navigate to the Work Order for which you will be adding Other Costs (i.e. not Labor or Parts costs), and select the option for Other Costs:
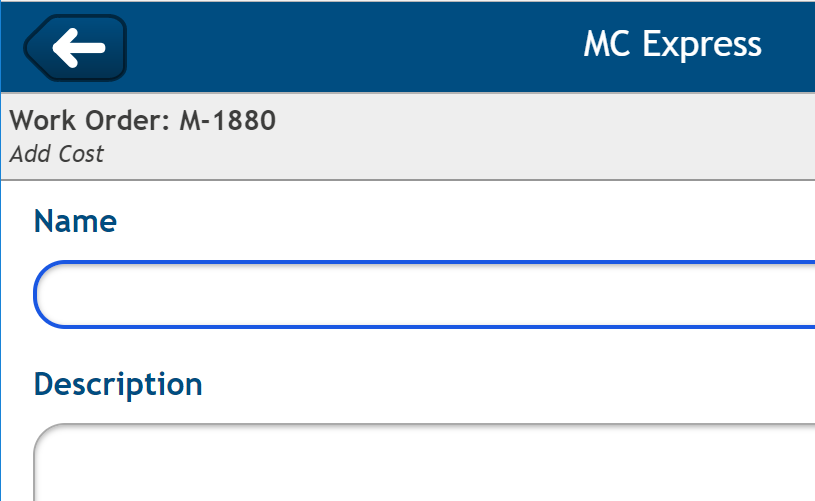
- In the window that appears, input the Name of the item or service purchased, the Date on which the item/service was purchased, and the Actual Cost for the item/service:
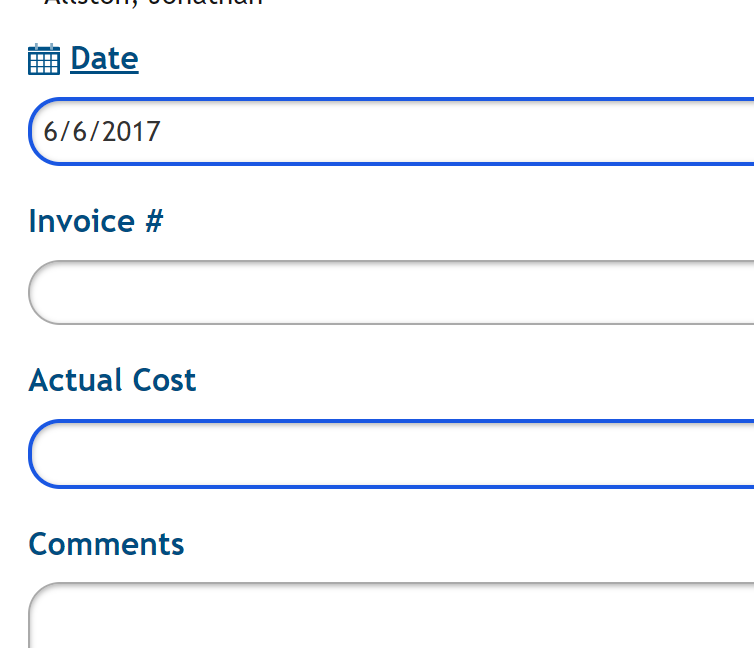
- When finished, click the Save button:
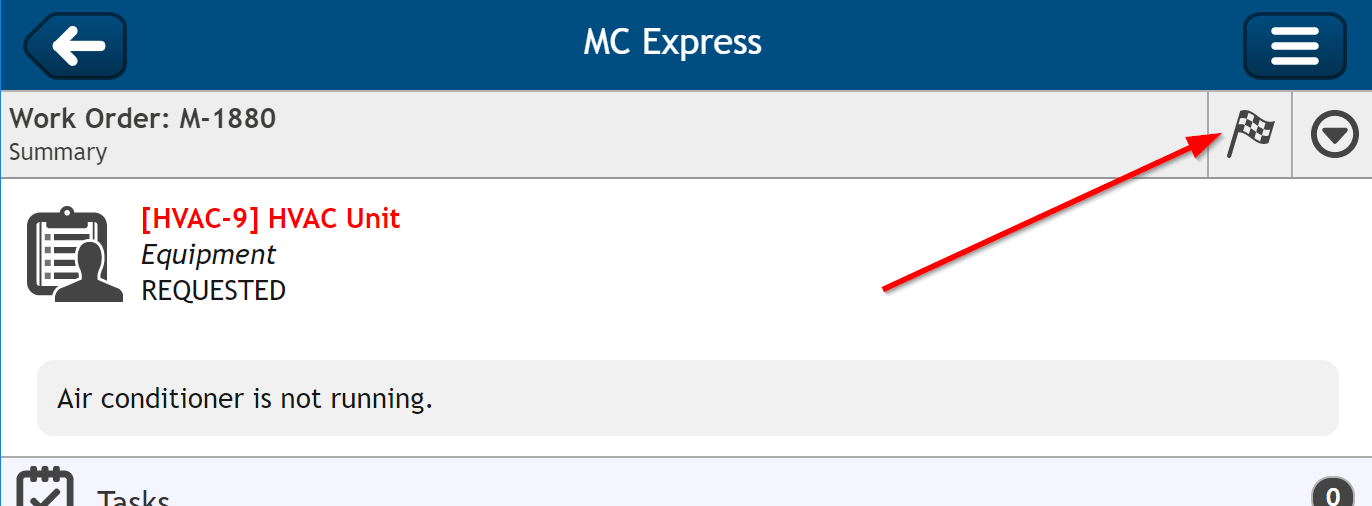
- Navigate to the Work Order that has been completed select the checkered flag icon in the upper right hand corner of the screen:
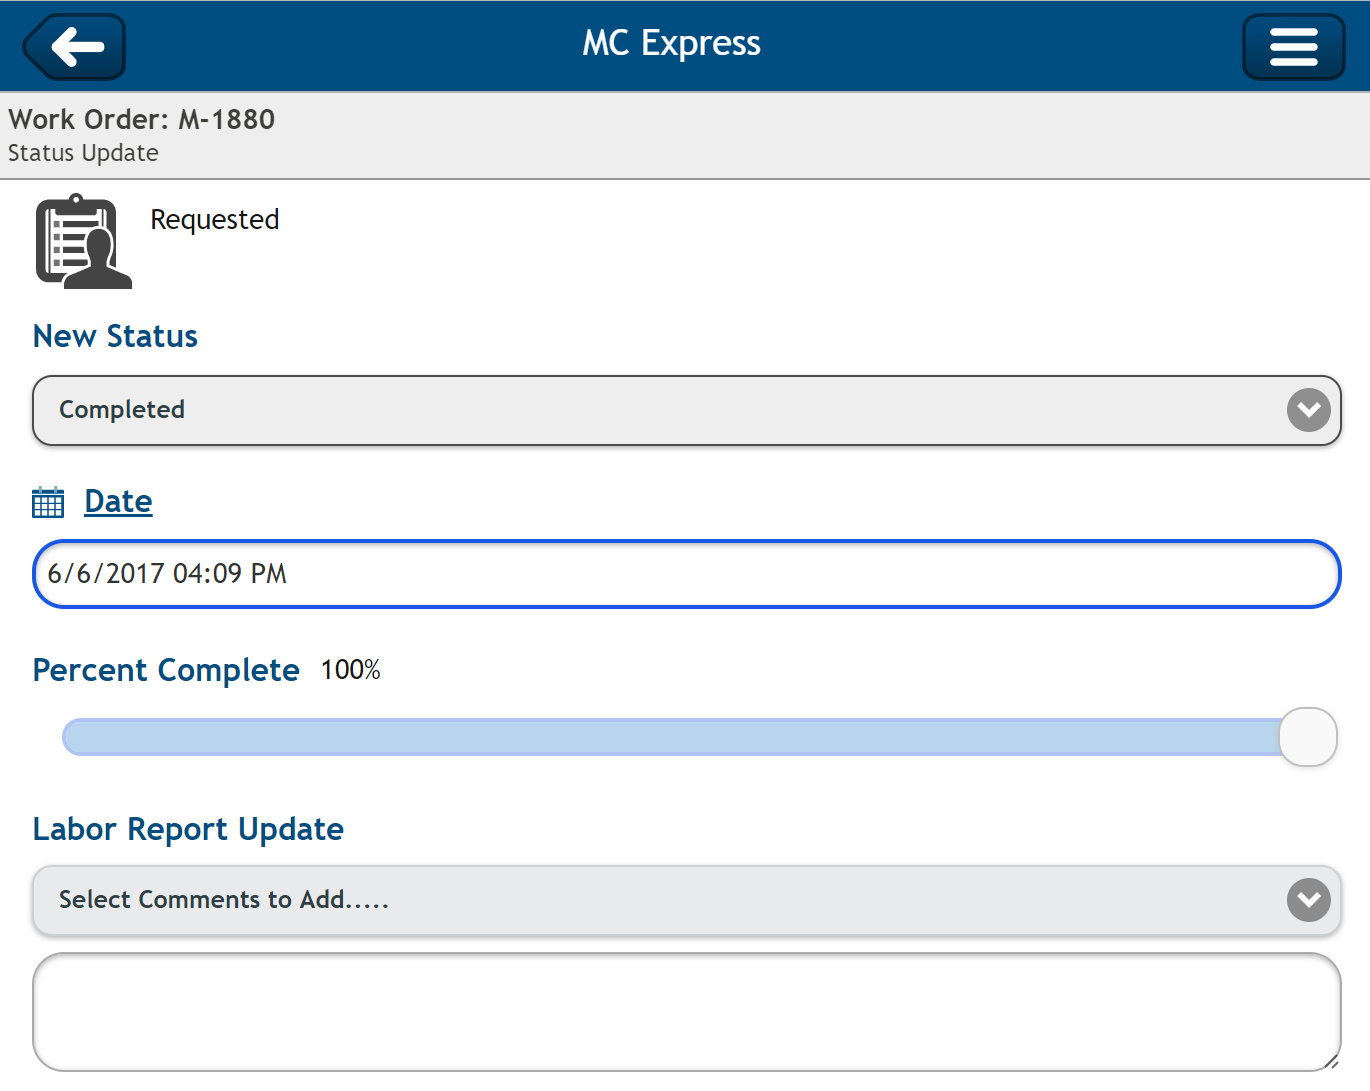
- In the window that appears, input or verify the values in the available fields. Appropriate steps may include:
- Ensure the New Status field is set to Completed.
- Verify the completed date/time in the Date field.
- Enter a detailed Labor Report in the Labor Report Update field:
- When the proper information has been added, click the Save button:

Please check out the rest of the MC Express Quick Reference articles, so that you can continue familiarizing yourself with the basics of the application:
 How to Create a Work Order