Documents, files, and attachments - How to create and manage
Documents, files, and attachments encompass everything from how-to documents, to images, to links, all of which can be used in various areas of MC to enhance the flow of data in the system. Maintenance Connection allows users to attach documents and images to records. This article compiles the key components of using documents and images in MC so that you can be equipped to use this feature to its greatest potential.
 Using the Documents module
The Documents module is the "holding area" for documents and links in Maintenance Connection. Documents stored in this module can be propagated onto individual records within other modules, making the Documents module a perfect tool for storing content that must be attached to new records on a regular basis, such as LOTO documents, schematics, and the like.
You can add three types of documents to the Documents module:
- Library Link - an uploaded file, such as a PDF
- Library Document - a document created directly in the Documents module
- External Link - a URL link to an external site or document
The following instructions show how to add these document types to the Documents module and how to manage existing document records.
Creating a library link
-
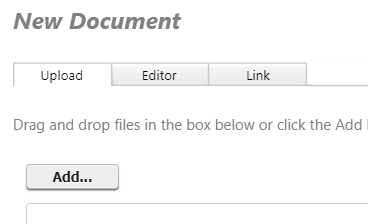
Access the Documents module and click New.
The New Document dialog opens to Editor.
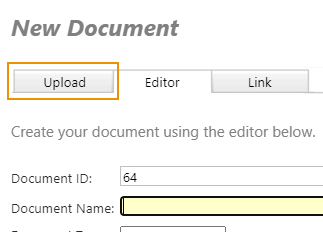
-
Click Upload.
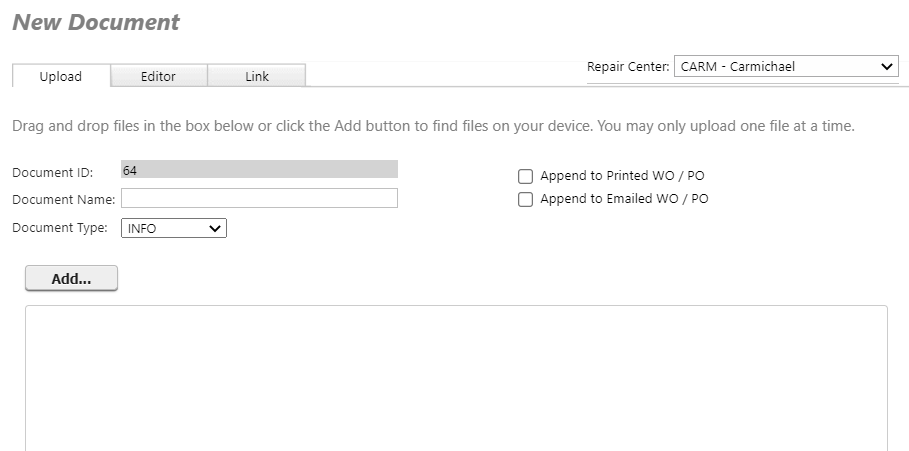
- Drag and drop a file or click Add to select one from your file explorer.
-
Enter a Document Name and select a Document Type.
You can also choose to append the document to printed and/or emailed work orders and purchase orders to which it is attached.
-
Click Apply.
The uploaded file is saved to the Documents module as a library link and can be attached to individual records.
Creating a library document
-
Access the Documents module and click New.
The New Document dialog opens to Editor.
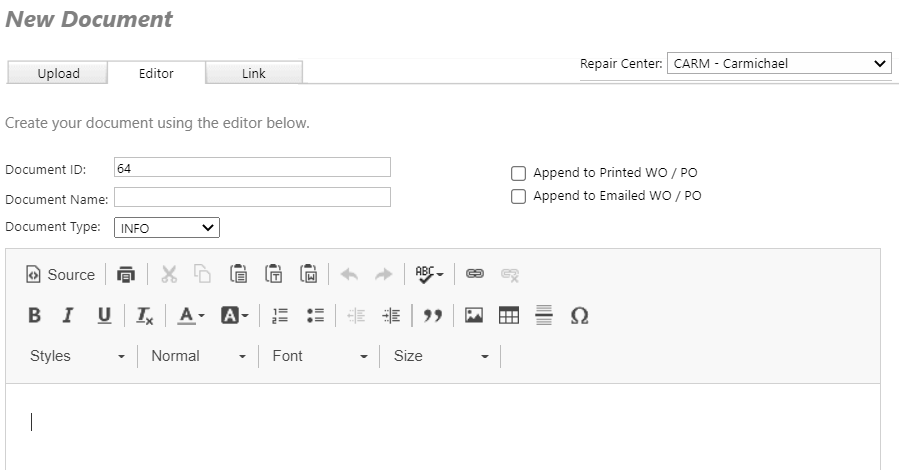
- Compose the new document, using the formatting tools available.
-
Enter a Document Name and select a Document Type.
You can also choose to append the document to printed and/or emailed work orders and purchase orders to which it is attached.
-
Click Apply.
The new document is saved to the Documents module as a library document and can be attached to individual records.
Creating an external link
-
Access the Documents module and click New.
The New Document dialog opens to Editor.
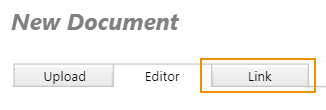
-
Select Link.
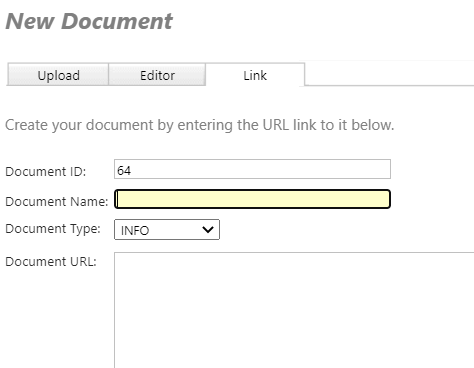
- Enter or paste the Document URL.
- Enter a Document Name and select a Document Type.
-
Click Apply.
The link is saved to the Documents module as an external link and can be attached to individual records.
Adding documents to records in bulk
You can attach files stored in the Documents module to multiple assets at once. This means, for example, that you can attach safety instructions to an entire class of assets in one step, rather than having to attach the document to each asset record individually.
To attach a document to multiple assets:
-
Access the Documents module and open the document you want to attach.
-
Select Related Info.
Assets opens, showing any assets to which the document is attached.
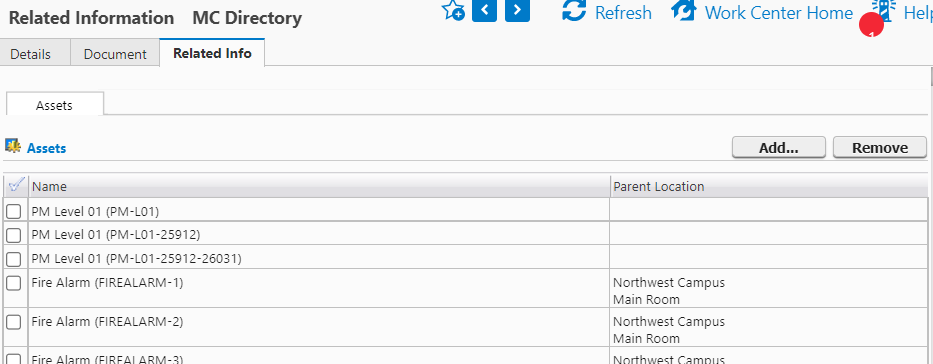
-
Click Add.
The Asset lookup window opens.
-
Select an asset to attach the document to.
The Location dialog opens.
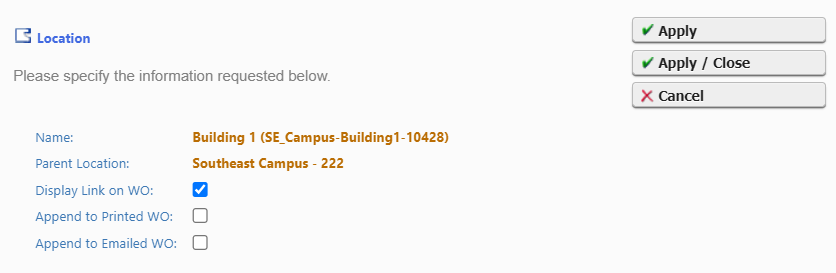
-
Make any necessary adjustments for appending/displaying on work orders and click Apply.
-
Select additional assets to attach the document to and repeat step 5 for each.
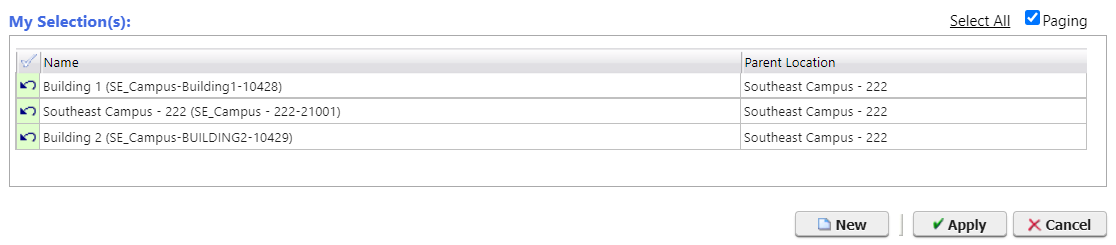
-
Click Apply in the Asset lookup window.
The assets display on the Related Info > Assets page, indicating the document is now attached to those assets.
Managing existing documents
Once a new document has been created, it can be accessed in the Documents List. Selecting a document opens the record in the WorkCenter. In the Details tab of the record, you can adjust information about that document, including its Status and the Default Indicators for appending the document to work order and purchase order reports.
Library documents can be adjusted in the Document tab, using the same editing functionality available in the New Document dialog described above.
From the Related Info page, you can change the options for the document appending/displaying on work orders for each asset or remove the document from assets listed.
Adding documents to individual records
Several modules within MC feature an Attach tab that can be used to add documents, images and links to individual records. The following instructions explain how to use the Attach tab both to create new documents or add existing documents from the Documents module.
Uploading or creating new documents within individual records
The process for uploading or creating new documents in individual records is very similar creating them in the Documents module.
-
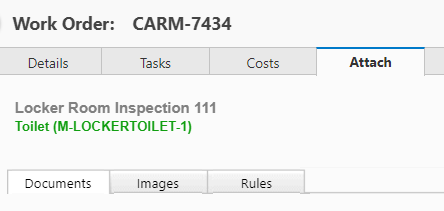
Navigate to the Attach tab of a record.
Available sub-tabs vary by module.

-
In Documents, click New.
The New Document dialog opens to Upload.
- Proceed in one of the following ways:
In Upload drag and drop a file or click Add to select one from your file explorer, then click Close.
The uploaded document is added to the Attach tab of the record and saved as a Record Link (not saved in the Documents module).
You can change a Record Link to a Library Link (saved in the Documents module) by right-clicking the record in the Attach tab, selecting Open, selecting Library Link, and saving the record.
In Editor compose a new document using the formatting tools available and click Apply.
The new document is added to the Attach tab and saved in the Documents module as a Library Link.
In Link enter or paste a Document URL and click Apply.
The new document is added to the Attach tab and saved in the Documents module as an External Link.
- Save the record.
Adding documents from the Documents module to individual records
-
Navigate to the Attach tab of a record.
Available sub-tabs vary by module.
- In Documents, click Add to view all documents saved in the Documents module.
- Select a document from the window, verify document info in the dialog that opens, and click Apply/Close.
You can also select Apply to select multiple documents from the lookup before clicking Apply in the lookup to add all selected documents at once.
The document is added to the Attach tab of the record. - Save the record.
Adding images using the Images tab
While you can use the Upload feature on the Documents tab to add files of any type (including images), in certain modules users can also upload images using the Images sub-tab if desired. Images can be uploaded here in two ways:
- The Add... button allows you to add a single file from your computer or with your device's camera/camera roll.
- The Add (Multiple)... button functions like the Upload feature, allowing you to upload multiple images at once. Drag and drop functionality applies here as well.

- Keep in mind that users will often choose to add images via the Upload feature in the Documents sub-tab, simply because it allows them to manage all the documents/images associated with the record in one place.
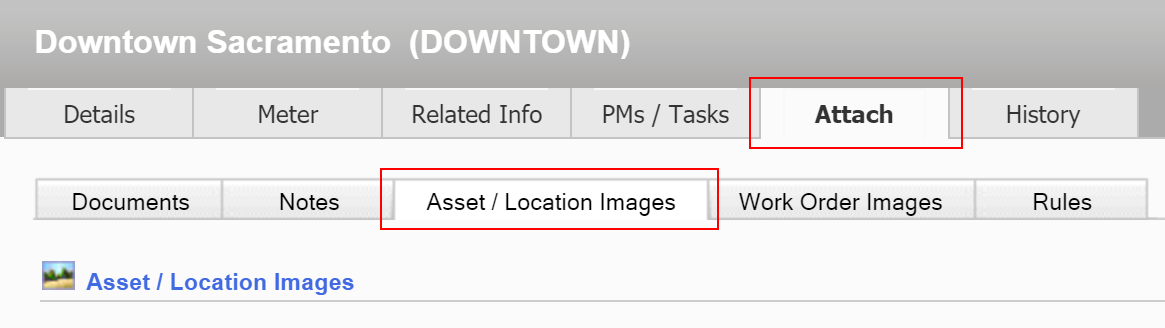
The Attach>Asset/Location Images sub-tab on an Asset record has the same functionality as the Images sub-tab on a Work Order.
Adding Images Using the Image Uploader Tool
The Image Uploader is a tool that lets you upload images in bulk, and then store those images by module. You can then add these images to the Details tab of of a record. For example, if you had images of 10 different vehicles being added to a fleet, you could add all of these images to the Asset module at one time, and then navigate to the Details tab of each vehicle Asset, and add the images to each Asset. Follow the instructions below to use the Image Uploader:
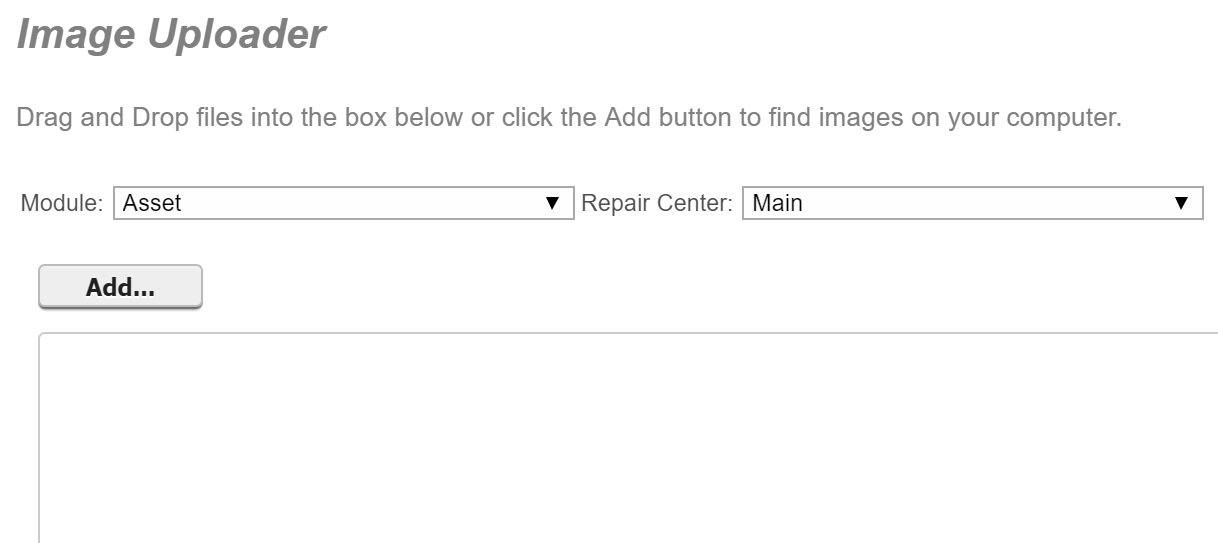
- Select Image Uploader from the Tools menu.
- The Image Uploader dialog will appear. Select the module and the Repair Center to which the images will be added, and then use the Add... button or the Drag and Drop feature to select the images that are to be uploaded:
- Click the Close button when finished. Then, navigate to the record(s) that the images will be added to.
- In the "Photo" section of the Details tab, select the Attach... button.
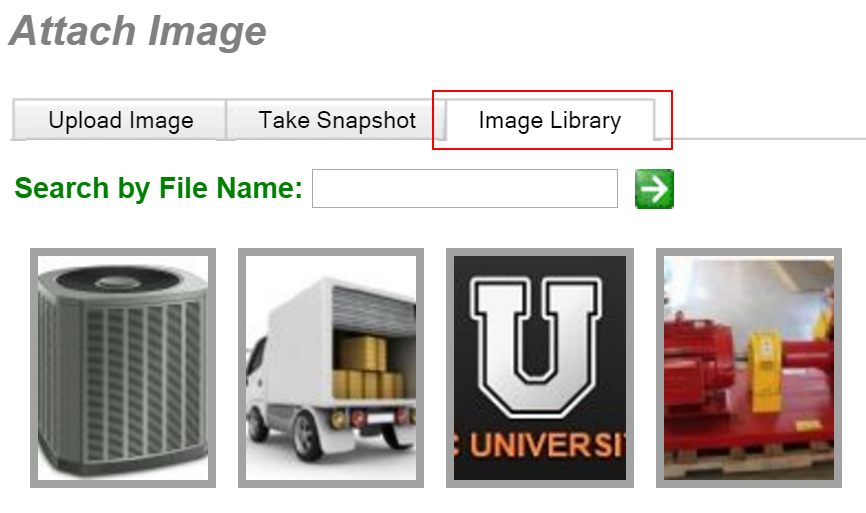
- In the Attach Image dialog that appears, select the Image Library tab.
- The images added via the Image Uploader will appear. Select the desired image and click Apply to add the image to the record:
Adding Attachments via the Complete/Close Dialog
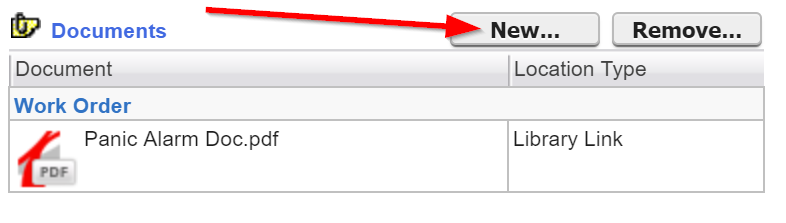
A Documents section can be included to the Complete/Close dialog from which you can add new attachments before closing the Work Order.
You can add documents "on the fly" using the New... button:
You can then add attachments from your computer by dragging and dropping files into the dialog, or by clicking the Add... button to open your documents viewer.
Upon accessing the Complete/Close dialog, the Documents section shows any files directly attached to that particular Work Order via the Attach tab. These attachments cannot be removed from the record in the Complete/Close dialog. The dialog does not display Work Order attachments added via a Procedure association, Asset association, etc.
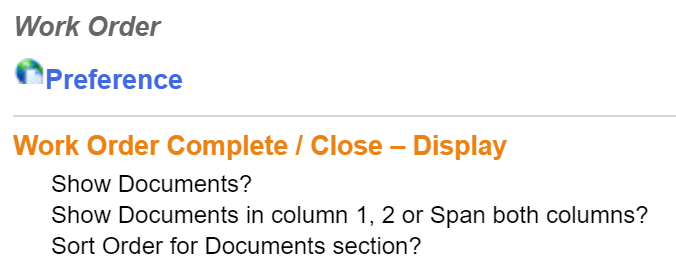
Note: As with other aspects of the Complete/Close dialog, the attachment functionality must be enabled and configured in the Work Order Preferences:
Adding Attachments to WO and PO Reports/Printouts
In addition to being great reference content within the MC application itself, attachments can also display on printed and/or Emailed Work Order and Purchase Order Reports/Printouts. This allows technicians to view images related to a Work Order or Purchase Order directly within a printed report, or technicians may select a link within a report to navigate to associated documents. Also, with the release of MC v8.0, you can append PDF's on Report/Printouts, allowing users to view entire PDF documents within a printed and/or Email report.
When accessing attachments on Work Orders or Purchase Orders, you will notice three options:
- The option to Display Link on WO/PO will display a link to attachments on the Report/Printout. Any file types that can be attached to a record will also be accessible via this link.
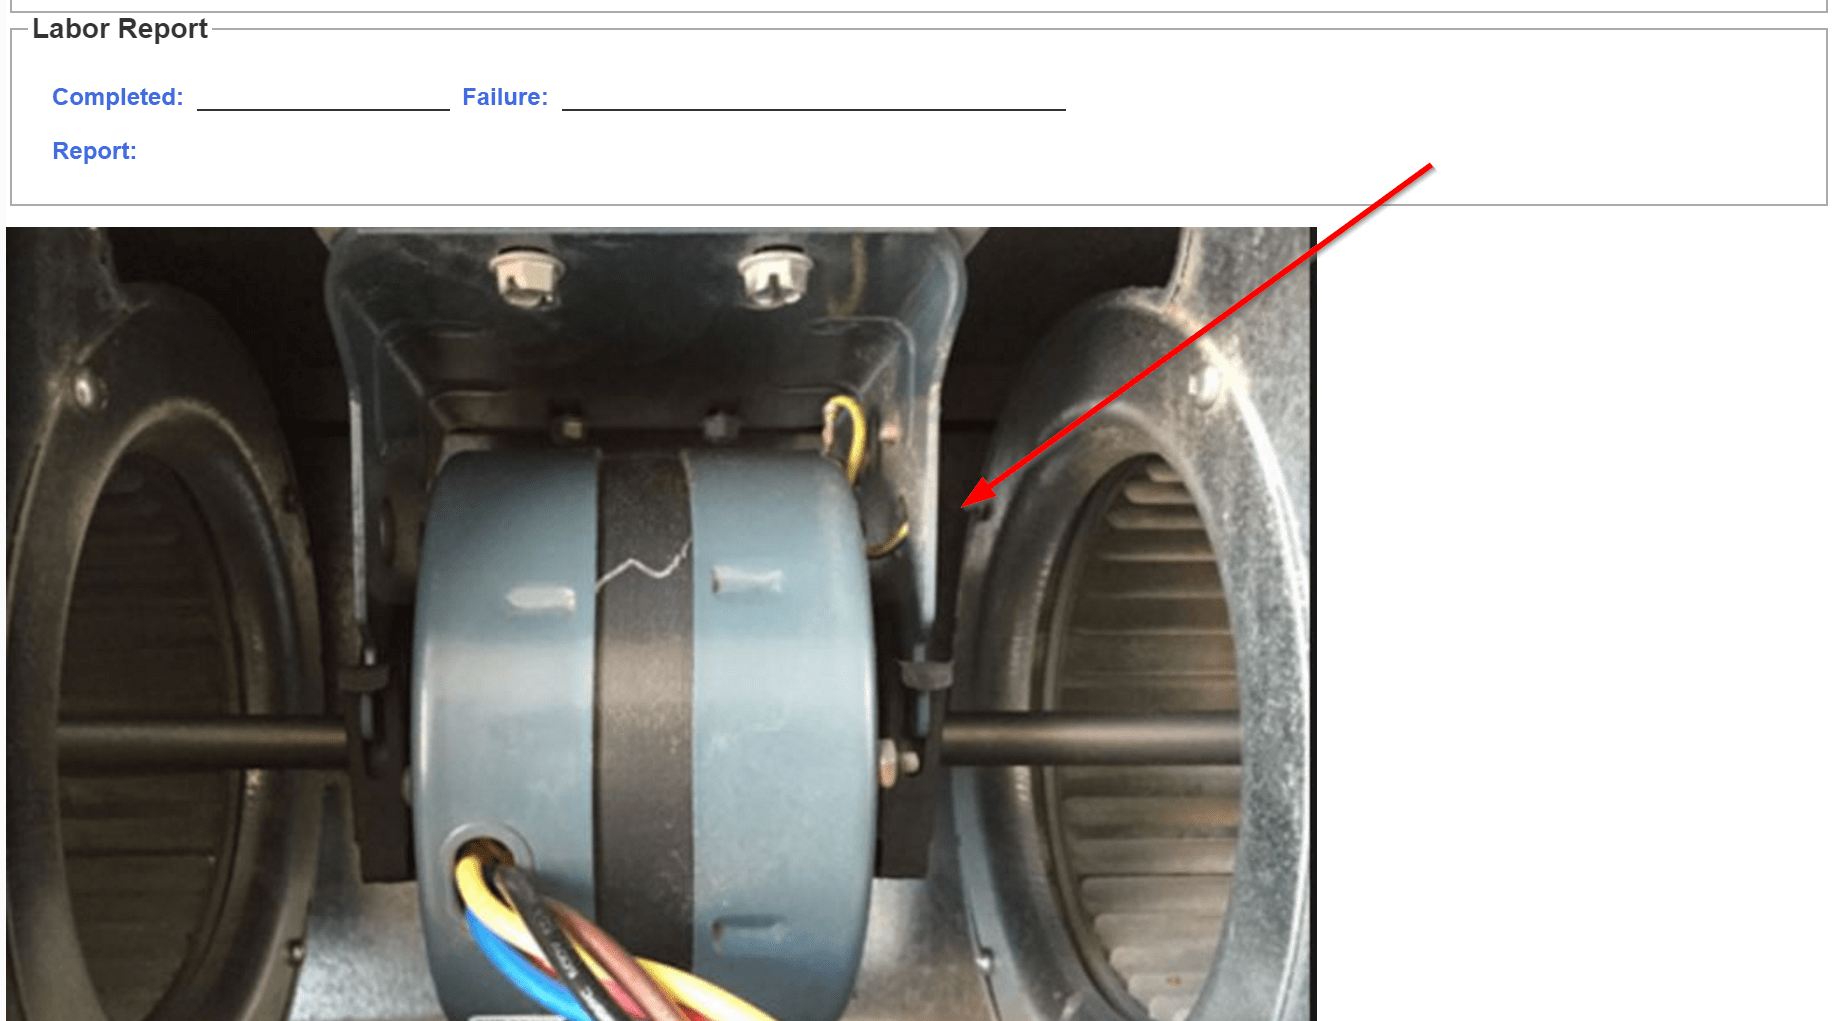
- Append to Printed WO/PO will display the associated image on the Report/Printout itself.
- Similarly, the option to Append to Emailed WO/PO will display the associated image on a Emailed version of the Report:

Note: For the Append to... options, only the following image file types will display within a printed or Emailed Work Order or Purchase Order: .jpg, .png, .gif and .wmf.
Having trouble printing a Work Order Report/Printout? Check out this article on printing within the Work Order module.
Viewing and Uploading Documents in Meridian
Organizations that use both Meridian and Maintenance Connection can access asset and work order documents in Meridian directly from a button in the Asset and Work Orders modules. You can also upload documents in Meridian that are associated with asset and/or work order records. Find out more about the Meridian integration.
Document Association Overview
Documents and images can be shared across modules in much the same way that other data points in MC logically relate to one another. For example, since Preventive Maintenance Schedules are made up of Procedures, documents added to a Procedure record will automatically populate onto PM Work Orders associated with that Procedure. As a kind of case study, follow the steps below to see how to ensure certain documents/images appear on PM Work Orders:
Adding Images to PM Work Orders
- To add an image to a PM Work Order, we recommend beginning in the Procedures module. Select the Procedure from the List that is (or will be) associated with PM Schedule to which the image should be attached.
- Select the Attach tab of the Procedure record.
- In the Attach tab, you will notice four action buttons in the Documents section. As previously discussed, you can use the New... button to add a new image in the record itself.
- After selecting an image, ensure that it will be appended to the Printed WO/PO or that the link will be displayed in the Work Order. This can be done while creating or adding a Library Document for/to the record, or in the Attach tab itself after uploading a new image via the Upload feature (using the New... button).
- Once these changes have been saved for the Procedure, navigate to the Preventive Maintenance module to ensure that the Procedure is indeed attached to the desired PM Schedule.
- The image we added has been automatically propagated onto the PM Schedule.
- When Work Orders are generated for the PM Schedule, the image will automatically be appended to the Printed Work Order Report.
This logical functionality for image/document propagation applies to the Asset-Work Order relationship as well. Documents added to a particular Asset record will automatically populate onto Work Orders performed on that Asset. Conversely, images added to a Work Order will automatically populate on the Attach>Work Order Images sub-tab on the Asset record with which the Work Order is associated.
Whitelist of File Extensions for Upload/Download
Here is the current whitelist for file extensions that can be uploaded/downloaded in Maintenance Connection. You can use Ctrl + F to search for specific file extensions.
.3g2
.3gp
.60d
.aae
.accdb
.ai
.amr
.asf
.ave
.avi
.bak
.bdb
.bmp
.catdrawing
.cdf
.cdr
.chc
.cpt
.csv
.cwk
.db
.ddb
.dia
.dib
.doc
.docm
.docx
.dot
.dotm
.dotx
.dtf
.dwf
.dwfx
.dwg
.dwt
.dxf
.eep
.efx
.elg
.emf
.eml
.eps
.exd
.fdf
.flv
.fpx
.fxg
.g64
.gbf
.gif
.gsheet
.htm
.html
.ico
.ics
.idx
.ifo
.imr
.ipd
.is2
.jnt
.jpe
.jpeg
.jpf
.jpg
.jpm
.lic
.lis
.log
.ltd
.m4a
.m4v
.mbz
.mdi
.mht
.mib
.mov
.mp3
.mp4
.mpg
.mpp
.msg
.mui
.new
.notebook
.numbers
.odp
.ods
.odt
.oft
.ogg
.one
.onetoc2
.ots
.oxps
.pages
.pano
.pcf
.pcx
.pdf
.pjpeg
.pm
.png
.potx
.pps
.ppsx
.ppt
.pptm
.pptx
.prn
.ps
.psd
.psp
.pub
.qcp
.rca
.rdb
.rec
.record
.rem
.rep
.repx
.rpt
.rss
.rtf
.sdf
.sig
.sit
.skp
.snag
.snagproj
.snb
.spp
.svg
.swf
.t2s
.thmx
.tif
.tiff
.ttf
.txt
.usp
.vcf
.vsd
.vsdx
.wav
.wbk
.webloc
.wfm
.wlmp
.wma
.wmv
.wpd
.wpl
.wps
.wri
.xfdf
.xl
.xlam
.xlk
.xlr
.xls
.xlsb
.xlsm
.xlsx
.xlt
.xltm
.xltx
.xlw
.xml
.xps
.xsn
.xspf
.zip
Info for System Administrators or IT Personnel
There are a couple of items that System Administrators or IT Personnel should keep in mind regarding Documents and Images. First, uploaded files (that is, files uploaded via the Upload feature) are either stored on company servers (for On Premise installations of MC), or at the mc_imageserver location (for Cloud Hosted installations). Cloud Hosted customers must make arrangements with MC and pay a fee for use of this server based on the amount of storage space required. To do this, please contact your Account Owner at [email protected]. Cloud Hosted (if they have access to a server) and On Premise customers may also opt to set up a document storage site on company servers. To investigate this option further, check out the Server Troubleshooting article, under the header, "Can't Access Documents in MC."